Mode - RBD

This simulation mode uses Bullet solver, and has slightly different and a bit more complicated approach compared to other tabs. But it is also the most powerful simulation mode, as it allows you to set any constraints and shapes and other Bullet simulation properties and objects, preview your animation, animate parameters, etc.

This section of documentation is under development
Documentation and Tutorials for RBD mode are planned, and under development. I understand that right now RBD mode is lacking detailed explanations, and I'm planning on extending this section with more guides and tutorials.
Workflow:
-
You set up RBD scene as you please. You can create any shapes, constraint them together, animate them, etc.
-
You connect RBD objects to your controls. It creates broMatchTo connection, which is then used to Snap one object to antoher. It is a two-way connection, so some buttons, like Select RBD\CTRL will work if you select any of connected objects. You can also use it for other purposes, when you need to track one object to another. You can setup your own simulation using any other tools, and snap your controls to those using BroDynamics RBD Tab's Track buttons.
-
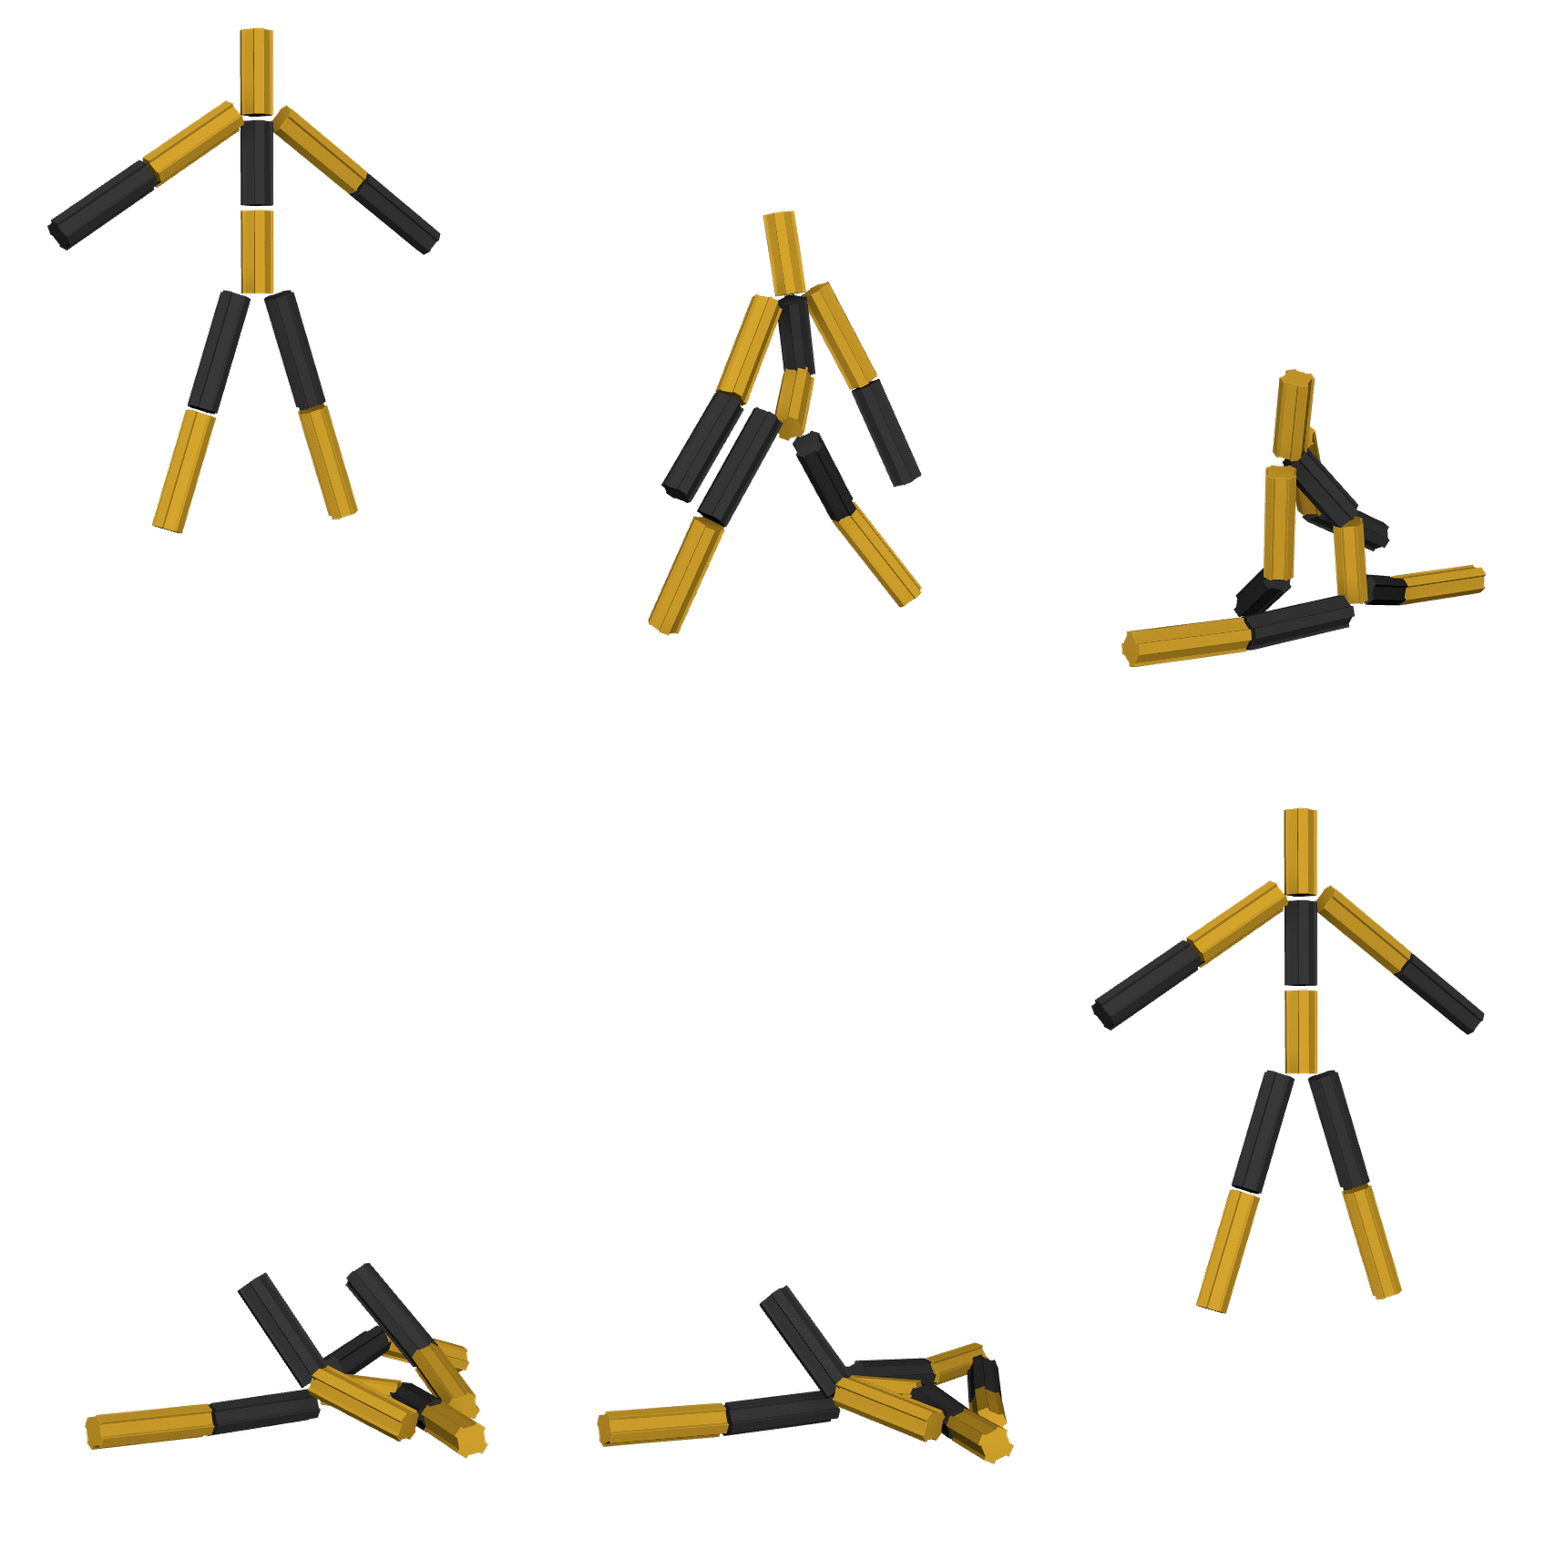
Optionally you track your RBD object to your animated object, so it follows the same animation. This is required if, for example, you want to simulate a character throwing an RBD object, or a character running and then falling forwards, keeping it's intertia.
-
You run simulation. You can change time-range, and if you click Simulate button, it will only bake keys in the specified time-range. The simulation itself will start from the bulletSolver's start frame though.
Buttons
Setup
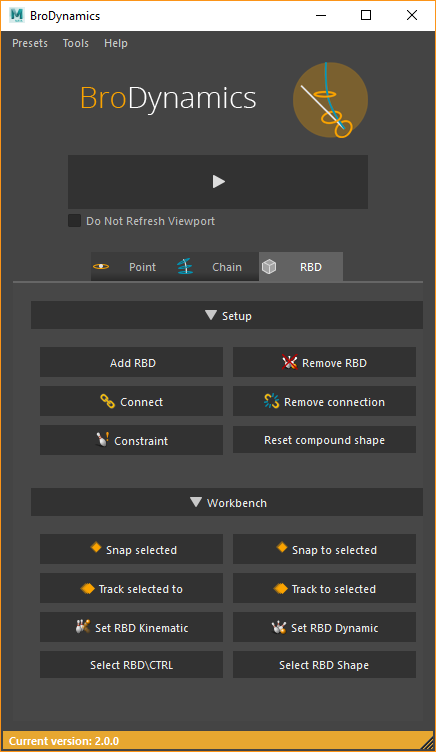
Add RBD - Adds box rigid body mesh to selected objects, and connects them together for simulation. Connection is two-sided. Remove RBD - Removes RBD and connection from selected objects. Reset compound shape - Recalculates collision mesh. Use this after changing shape of your collision boxes. Connect - Connect two objects for tracking. It creates two-sided connection between objects. Use this if you created rigid bodies manually. This can also be used to track movement from one object to another out of RBD context. Remove connection - Removes connection made with Connect button. Constraint - created constraint between selected RBD objects. You should be selecting RBD geometry, not your controls when using this.
Workbench
Snap selected - Snap currently selected object to the one it is connected to. It uses two-sided connection\relationship between two objects that was created with Add RBD or Connect buttons. For example if you select Control object it will make it snap to the RBD shape. And if you select RBD shape then RBD shape will snap to Control. Snap to selected - Same as Snap selected, but in reverse. If you have control object selected it will snap RBD object to it and vice versa. Track selected to - same as Snap selected, but will do it for every frame of the timeline. Track to selected - same as Snap to selected, but will do it for every frame of the timeline. Set RBD Kinematic - kinematic RBD objects are not affected by the simulation, but they affect other objects. For example when animating tank crushing a wall of boxes, you would set tank object as Kinematic, and wall bricks as Dynamic. Set RBD Dynamic - sets selected RBDs to Dynamic. Dynamic objects are affected by the simulation, colliding with each other and Kinematic objects. This is the default for objects created with Add RBD. Select RBD\Ctrl - toggle selection between connected objects. Select RBD Shape - Select RBD shape attached to selected control or RBD object. This shape contains physics parameters like Mass, Friction and other Bullet solver parameters for the selected RBD.
Quick test
- Create a few control objects, like nurbs circles
- Select them and click Add RBD
- Select box meshes that were generated, press F8 and adjust their shapes
- Once happy with your result, press F8 to exit mesh editing mode, and with all collision meshes selected click Reset compound shape to recalculate collision meshes (not visible)
- Play your animation. You should see objects falling
- Create a simple Poly Box (Poly Modelling shelf - Box or Create - Polygon Primitives - Box)
- Adjust it's scale to create a floor
- Switch Maya menus to FX tab
- Fine Bullet dropdown in main Maya's menu
- With your floor selected click on Bullet - Passive Rigid Body
- Play your animation again. You should see boxes falling and colliding with the floor
- Now select your control object and click "Track selected to" or select your RBD meshes and click "Track to selected" for the same result
- You can now remove all simulation objects, animation is baked on your controls
Tips
- Simulation will preserve inertia and velocity of animated objects at the first simulation frame. For example, if you animate your RBD object from frame 0 to 10 moving from 0, 0, 0 to 10, 10, 0 (translation), and then start your simulation from frame 5, it will launch the object in an arc.