Multi-Chain Simulation
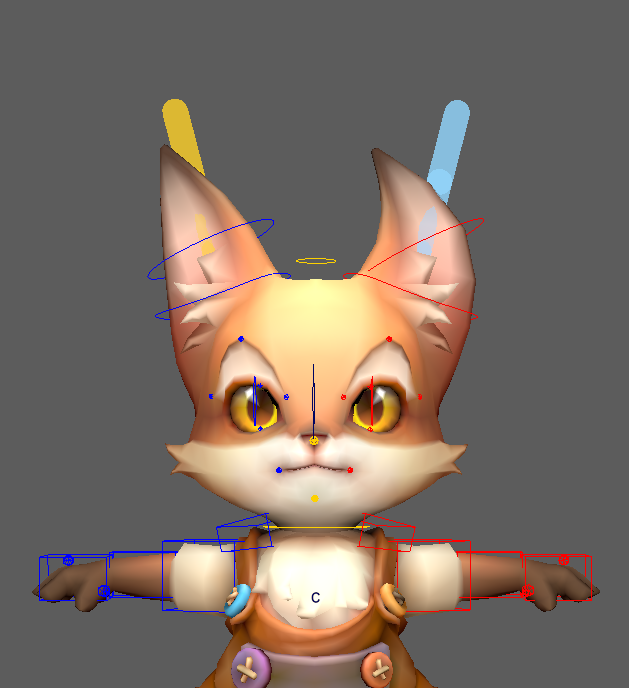
Chain and Rod modes can simulate several chains together in one shared physics world. Chains simulated together can collide with each other: braids, bundles of cables, several tails or tentacles brushing against each other, a character's hair strands and straps.
Multi-chain simulation is built on marking. You tell BroDynamics once which controls form which chain, and that definition is saved in the scene. After that, you just select the chains you want and click Simulate.
Single chains work as before
You don't need to mark anything to simulate one chain. Select its controls from root to tip and click Simulate, as usual. Marking is only required when you want to simulate two or more chains together.
The Chains menu
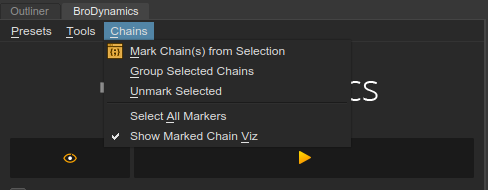
The Chains menu in the BroDynamics window's menu bar contains everything for marking.
Mark Chain(s) from Selection
Select the controls of one or more chains and choose this item. BroDynamics splits the selection into chains by scene hierarchy and creates a marker for each one:
- Controls are linked when one is a parent (or any ancestor) of the other. Offset groups and other unselected nodes in between are fine.
- The order of each chain (root to tip) comes from the hierarchy, so selection order doesn't matter here.
- Branching hierarchies are split at the branch point. For example, selecting a spine, both arms and the fingers produces a separate chain for each limb. The control at a branch point is shared: it is the tip of the incoming chain and the root of each outgoing chain.
- Each chain needs at least 2 controls. Single, unconnected controls are skipped.
Each new marker gets its own color from a palette, and the chain's controls immediately show a colored capsule overlay in the viewport. A message in the viewport tells you how many chains were marked.
Controls must be in a hierarchy
Marking relies on the parent-child hierarchy between the selected controls. If your controls are not parented to each other (a flat list, or controls driven only by constraints), marking can't detect the chain and will skip them. You can still simulate such a chain on its own the usual way, by selecting its controls from root to tip.
If a split comes out wrong, unmark the chain, adjust the selection (for example, select one limb at a time) and mark again.
Group Selected Chains
Select controls (or markers) from two or more marked chains and choose this item to bundle them into a named group. Selecting the group node (broChainSimGroup#) and clicking Simulate then simulates all of its chains at once, which is handy when the same set of chains is simulated over and over. Groups simulate with collisions between their chains turned on.
Unmark Selected
Removes the markers of the selected chains. You can select any control of a marked chain, the marker node itself, or a group. Your controls and their animation are not touched.
Select All Markers
Selects every chain marker in the scene, for example to see what's marked or to simulate everything at once.
Show Marked Chain Viz
Turns the marked-chain overlay on or off. On by default.
Simulating multiple chains
- Mark your chains (see above). You only need to do this once per scene.
- Switch to Chain or Rod mode and set up properties as usual.
- Select the chains you want to simulate together. You can select:
- any control of each chain (one control per chain is enough), or
- the marker nodes, or
- a group.
- Click Simulate.
When two or more marked chains are selected, BroDynamics builds them all into one world and bakes them together. When only one marked chain is selected, it is simulated on its own, using its marked members in their marked order, whichever of its controls you selected. With nothing marked in the selection, Simulate works exactly as before, using the selected objects in selection order.
How the chains share settings:
- All chains in one run use the current mode's properties (Chain or Rod tab), the same Colliders list and the same frame range.
- Every chain collides with the environment colliders.
- Collisions between chains are on by default.
- Self-collision (a chain colliding with itself) is set per chain on its marker and is off by default. In multi-chain runs, the Enable Self-Collision checkbox in Chain mode is not used.
- A chain can have its own collider radius stored on its marker. Otherwise it uses the mode's Radius.
Limits
- Chain mode needs at least 2 controls per chain; Rod mode needs at least 3. Chains with fewer controls are skipped.
- Up to 31 chains can be kept apart for collision purposes. With more than that, the extra chains share a collision layer, which may affect their collisions with each other, and a warning is printed.
- Realtime Preview and the Batch window simulate one chain at a time. Multi-chain simulation happens when you click Simulate.
Marked-chain overlay
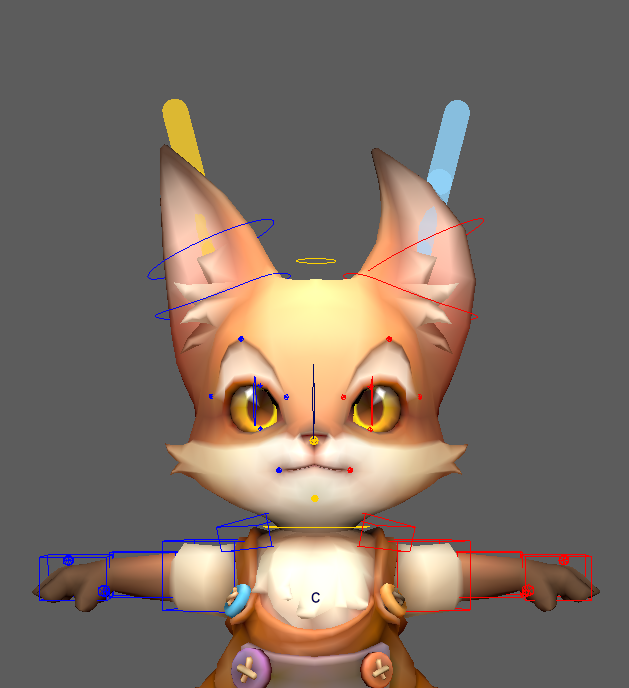
While the BroDynamics window is open, every marked chain is drawn in the viewport as a row of capsules in its own color. It doesn't depend on your selection, so you can see at a glance which controls belong to which chain and spot a wrong split.
- The overlay is a viewport helper only. It isn't saved into your scene file, and it's rebuilt automatically when a scene is opened or saved.
- Unless a chain has its own radius stored on its marker, its capsules are drawn at a fixed default thickness, so the overlay shows chain membership rather than exact collision size. For the exact size, select the chain and use Show collider radius in the mode's Tools section (see Chain → Show collider radius).
- Turn it off with Chains → Show Marked Chain Viz.
Where marks are stored
Each marked chain is a small network node named broChainMark#, and each group is a broChainSimGroup# node. They are saved with the scene.
- Membership is stored as connections to your controls, so renaming controls doesn't break a chain. If a control is deleted, it simply drops out of the chain.
- If the connections are ever lost (for example, the controls were deleted and re-created), BroDynamics falls back to finding the controls by name, ignoring namespaces.
Advanced: per-chain settings
Each marker and group stores its settings as JSON in its meta attribute. There's no UI for these settings yet; you can change them from the Script Editor. With the marker node (broChainMark1 in this example) or group selected, run:
1 2 3 4 5 6 7 8 9 10 11 | |
The inter_chain_collision setting is used when you select the group to simulate. When you select chains individually, collisions between them are always on.